
| ? What’s the goal? Install Google Tag Manager on your Shopify Store. | ⚠️ Why does it matter? Google Tag Manager makes it easier for marketers to implement tags or tracking pixels without having to rely on web developers to do it for them. |
| ? What’s the result? Successfully launch Google Tag Manager on Your Store. | ⌚ When do you do this? After you set up your Store, but also after every theme change. |
| ✅ Any special requirements? You should have Google Analytics installed on your Shopify Store. Check our Adding Google Tag Manager to Shopify on how to do it. | ?♂️Who should do it? The person responsible for managing your Store. |
? Where this is done: In your Shopify Store Admin Panel and Google Tag Manager.
⏳ How long will this take? about 5 minutes
Now let’s place Google Tag Manager in your Store

Environment setup:
- We recommend that you use the Google Chrome browser to navigate the web.
What is Google Tag Manager?
Google Tag Manager is a free tool that allows you to manage and deploy marketing tags (snippets of code or tracking pixels) on your Store (or mobile app) without always having to edit the code of your website.
Create a Google Tag Manager Account & Generate your Tag
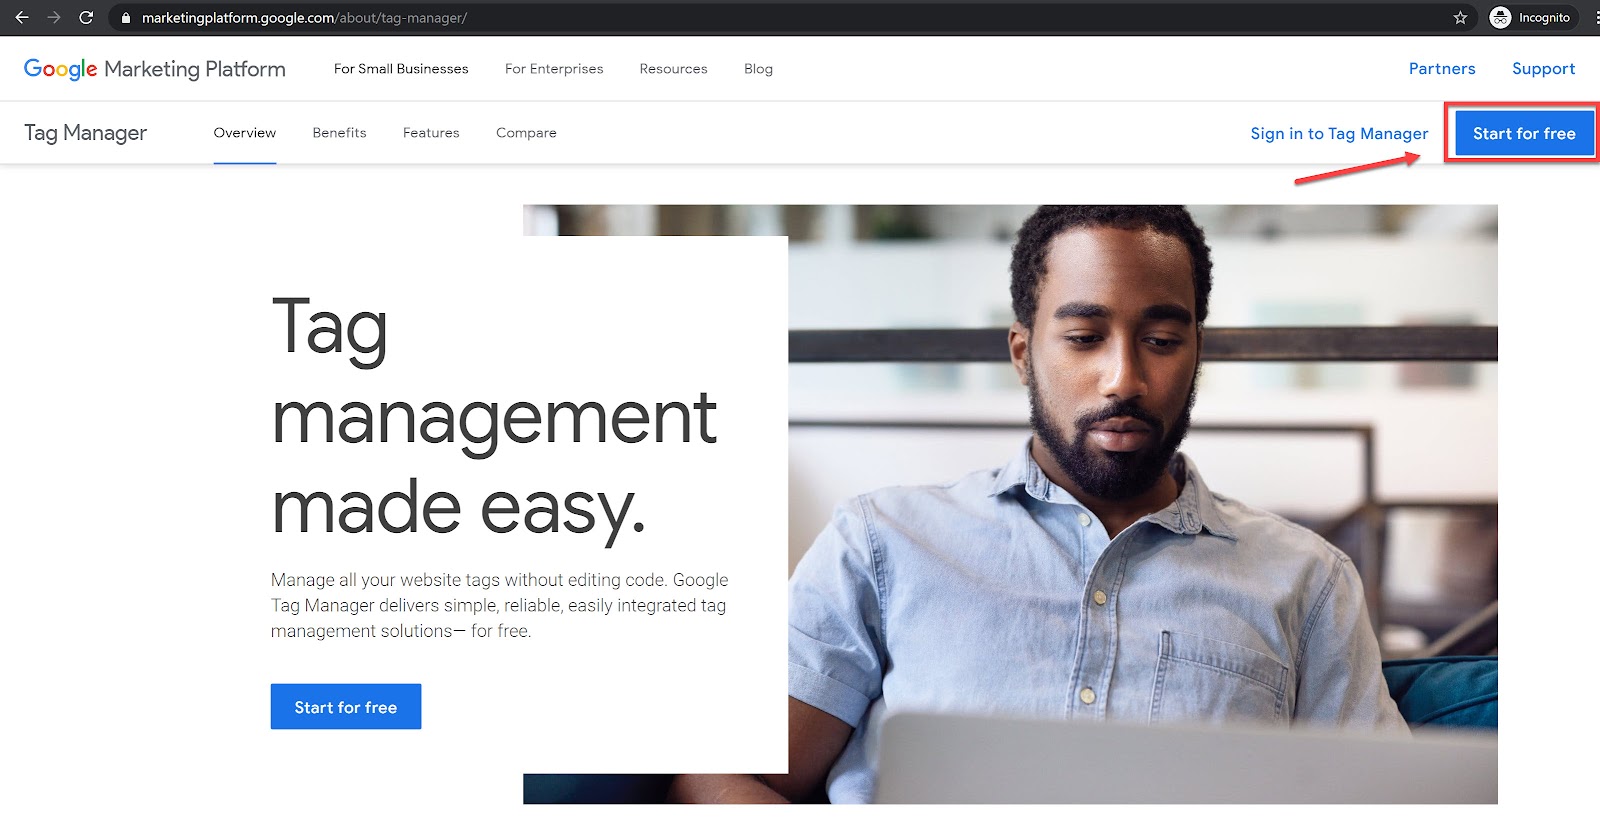
- Go to Google Tag Manager.
- Press “Start for free” and sign-in with your Google Account (or create one)
- Click on “Create Account”
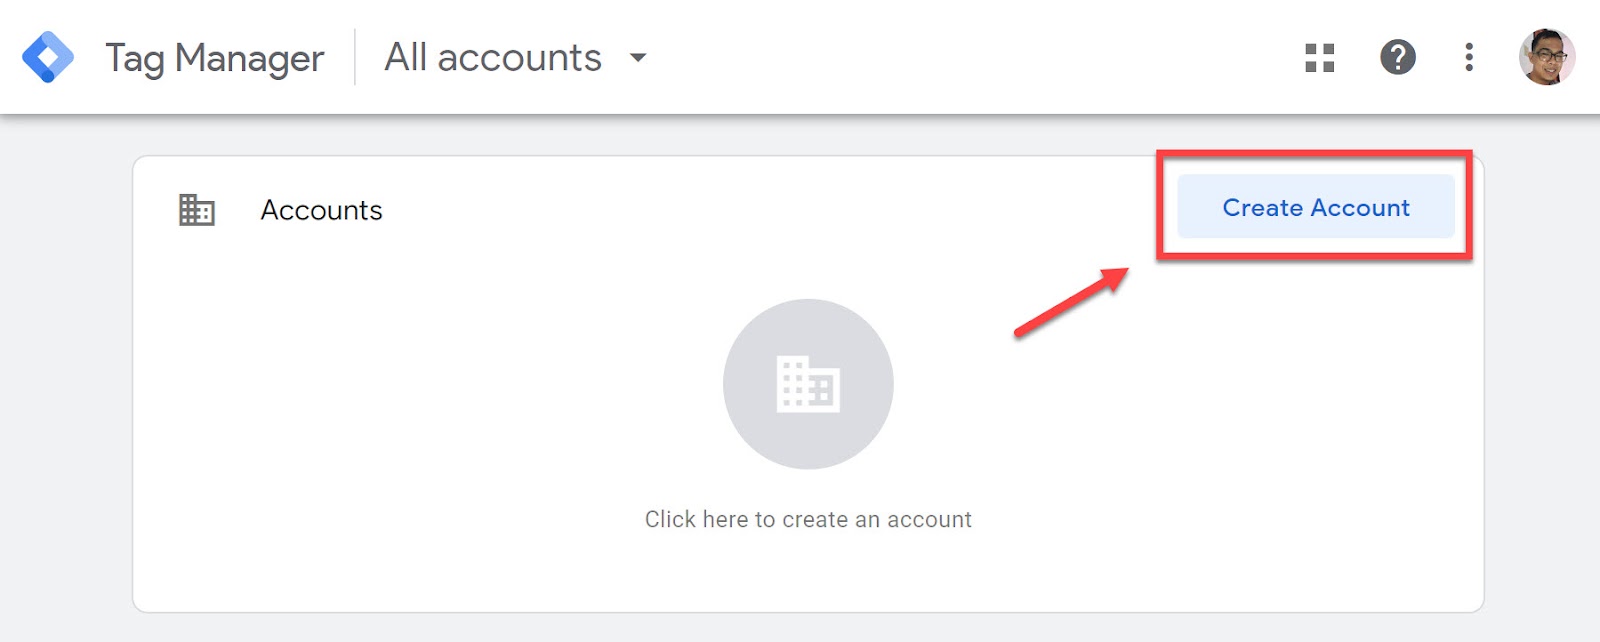
- Then you should see the tab below called “Add a New Account”

- Add a name to your account (Eg: Company Name) and choose your country (1,2)
- You can decide if You want to share your data with Google (click on “?” for more info)

- In the “Container Setup” tab choose a name for your container (Eg: www.mysite.com) (3)
- Next, choose the target platform - in the case of the Website it will be “WEB” (4)
- Then click on “Create” (5)
- Read & Accept “Google Tag Manager Terms of Service Agreement” and click on “Yes”


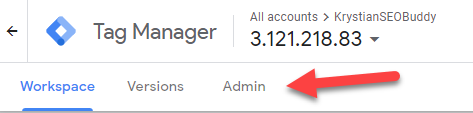
- You are now in your Google Tag Manager Dashboard Tag Manager, and the next step is to go to the “Admin” tab section.
- Then click “Install Google Tag Manager.”
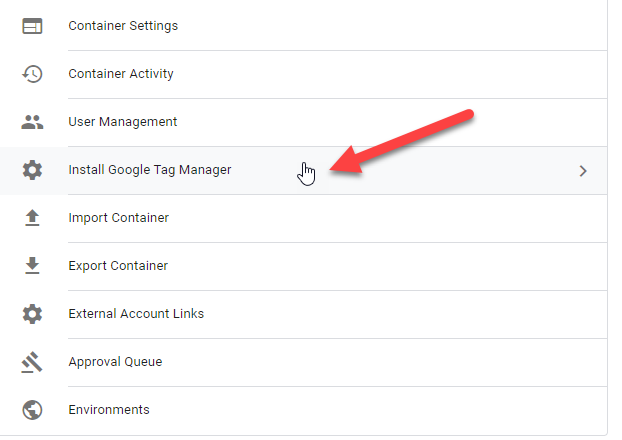
- There you can see the code that you need to install on your website.

Keep that page of GTM open. You will need it in the next steps.
Adding Google Tag Manager to Shopify Store
- Log in to your Shopify Admin Area:
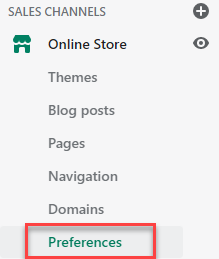
(Eg: yourstorename.com/admin) - Choose “Preferences” from the left-side menu under the Online Store section.
- In the Google Analytics section click on “Add custom JavaScript”.

- Now go back to your Google Tag Manager code and copy the upper code.

- Then paste the code in the box that appeared in the Google Analytics section of your Shopify Admin area.

- Click on “Save” at the bottom of the page.

- Now, select “Theme” from the left-side menu.

- Here you will be able to see your selected theme for your Shopify Store.
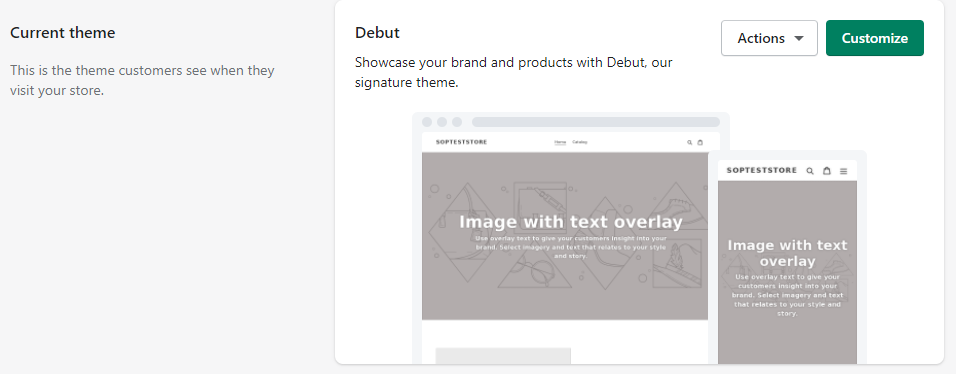
- Click on “Actions” and select “Edit code”.

- Choose “{/}theme.liquid” - You will find it on the list on the left side of your screen.

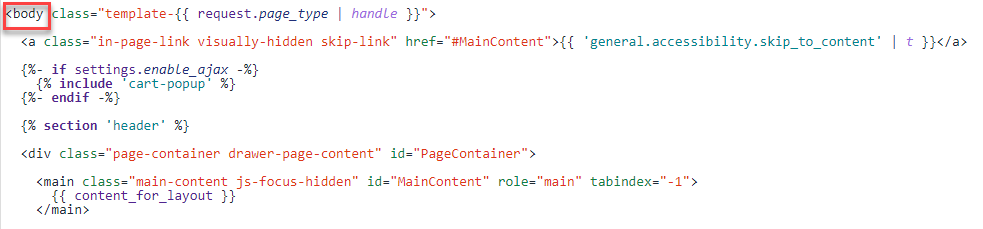
- You will be presented with your selected theme code. Look for the “<body” part of the code. (If you are struggling with finding it, use CTRL + F combination on your keyboard and type “<body” in the search box).
- Now go back to your GTM code. This time copy the second code.
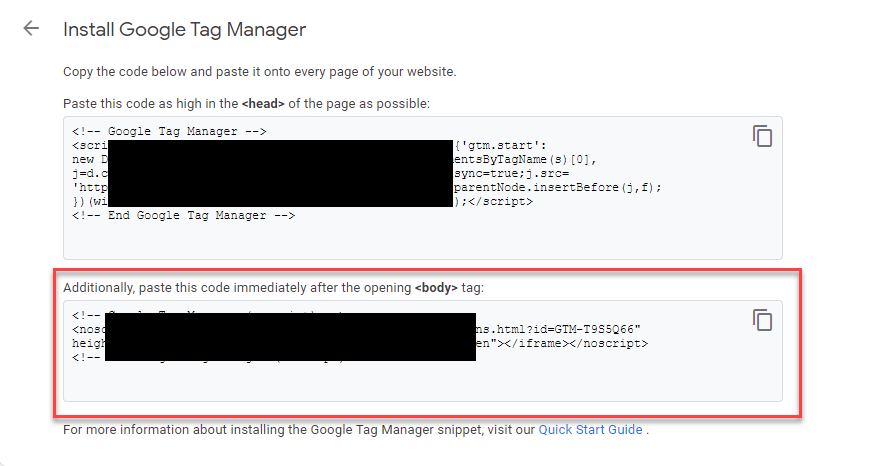
- Paste the code below the first line of the “<body” part of the code - like on the screenshot below.

- Now click on “Save” in the upper right corner.

Checking if you install Google Tag Manager correctly
- Install Tag Assistant (by Google) Chrome Extension
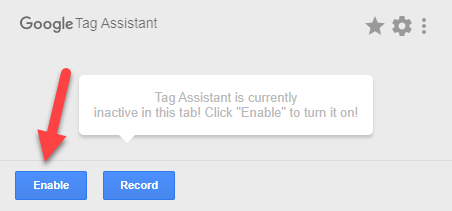
- After installation, click on the Tag Assistant icons on your Chrome Browser

- Click “Enable” it
- Simply open your Shopify Store and run the extension. Now you should see all your working tags or if they encounter any problems.

This is it! You Enabled Google Tag Manager for your Shopify Store. You are now ready for adding more Tags & Tracking Pixels to your Store. GTM will make it easier for you!